Wednesday, 1 Aug 2012 [71,708 miles]
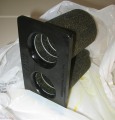
Oiled air filter
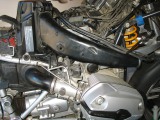
Air filter installed
Hopefully all excess oil had a chance to drain from the air filter over night. If not it will look like I’m spraying for mosquitos the first time I start the bike.
This after noon my primary task is to replace the rear shock, change fluid in the final drive, and start putting the bike back together for a test ride. That will happen tomorrow, assuming the cam speed sensor arrives. After the bike is good and warm I’ll check throttle body balance and change out tranny and engine oils.

Remove can
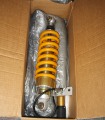
Rebuilt rear shock
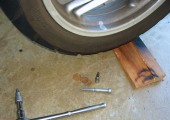
Hold wheel up
The angled bit of molding is perfect to kick under the tire to take a load off the swing arm when pulling the shock. The rear Ohlins on the bike has about 22K miles. Since I have another fresh rear Ohlins I’m swapping them out now instead of waiting until it absolutely has to be changed.
The anti-seize I used last time I pulled the can did it’s job. The can came off with just a little bit of wiggle once the clamp was loosened.

Clean… for now

Shock installed
After pulling the old shock I gave that area of the swing arm some TLC. It is clean. It his polished. It will probably not be clean and polished until I have to swap shocks again.
After installing the re-built shock I pulled the rear wheel and did a little more swing-arm cleaning. Before I pulled the wheel I did a side-to-side and top-to-bottom shake test. No play in the rear drive was detected.
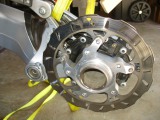
Cleaned before FD service
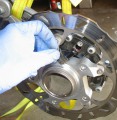
Pull ABS/Speedo sensor
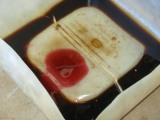
Looks new
There were a few hairs on the ABS/speedo sensor. The oil in the FD came out looking about the same as it did going in. It is the red stuff in the last picture. The dark fluid is engine oil from the valve covers.

Strap to lower FD slowly
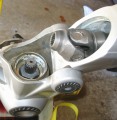
Splines look great
Greased boot
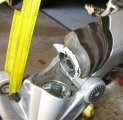
I use the strap to lower the FD slowly when draining fluid. I also keep the drive from flopping down more than necessary to fully drain the drive. If I let it flop down more the brake rotor may wind up in the old gear oil.
The FD input splines and the matching splines on the drive shaft look fine. I cleaned them before adding a fresh coat of Honda Moly 60. I also cleaned up the boot and applied a liberal amount of white lithium grease to keep water away from the splines and U-joint.
New nut
180cc

Caliper re-installed
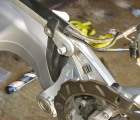
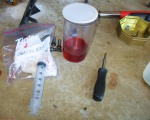
After re-attaching the FD to the drive shaft and making sure the boot was clipped into place at both ends I re-installed the drain plug and measured out 180cc of 75w-90 for the FD. I used the pictured syringe to insert the fluid throught the ABS/speedo sensor hole. After filling the drive putting the ABS/speedo sensor back I installed the rear brake caliper and pumped on the rear brake until the pads contacted the rotor. It took quite a few pumps.
Top off reservoir
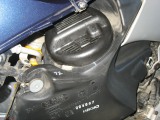
Forgot this
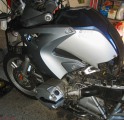
Almost back together
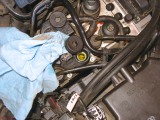
Now that the rear caliper has been installed I can top off the ABS reservoir. It took quite a bit of brake fluid to hit the max mark. With that job complete I no longer needed access to the area under the fuel tank so I put it back on the bike along with the side pannels. Looking around I saw I forgot the cover for the fuel pump electronics. I washed the cover and removed the left panel to put the cover where it belongs then re-installed the left panel. Dzus fasteners make side panel access so easy.
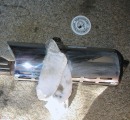
As long as it is off the bike…
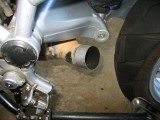
Anti seize
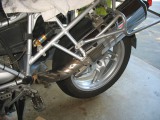
Can installed
I washed the can and put it back on the bike. OK, I polished the can, too. Like the swing-arm, it will probably not be polished again until the next time it comes off the bike.
I also re-installed the crash bars. I’m ready to replace the cam speed sensor and take the bike on a test ride. Hopefully tomorrow.