2000 February 7 (Monday)
Final Drive gasket

Final drive gasket
I put a new gasket on the final drive where it attaches to the swing-arm, smearing both sides with a thin layer of hylomar.
Install final drive
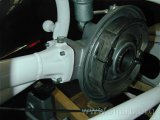
Final drive installed
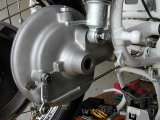
Brake and shock connections
I installed the final drive and attached the brake assembly. Note the wrong washer where the shock attaches to the rear-end in the second picture. That large washer should go with the axle.
Rolling chassis
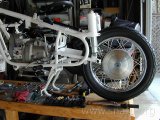
Rear wheel on bike
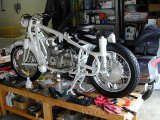
Left side view
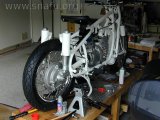
Right rear view
Call me impatient. I just wanted to see what the bike looked like with two wheels. The wheel has to come off so I can install the rear fender, but I can’t do that until I go to the store and pick up some missing hardware.
Install rear fender
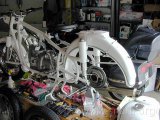
Rear fender
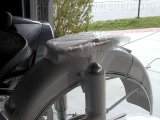
Luggage rack location
The missing hardware is needed to install the rack on the fender. The rack is new, but I removed the original black paint and had it powder coated with the frame. It’s just resting on the fender in these pictures.
Install luggage rack
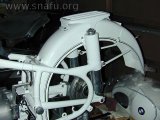
Luggage rack on fender
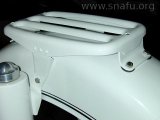
Luggage rack mounting details
I finished installing the rack and fender when I got back from the hardware store. I purchased some fiber washers to place between the rack and the fender to try to protect the finish. Time will tell if this is a good idea or not.
rearwheel
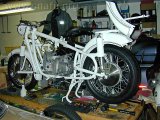
Rear wheel and fender
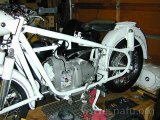
Left side
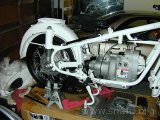
Right side
I put some BMW #10 on the wheel splines and then installed the rear wheel. Now it looks like a motorcycle. Well, close anyway. Once the tank goes on it will look even better. Perhaps tomorrow.
2000 February 8 (Tuesday)
Yes, I know I went overboard with the pictures, but I wanted to remember this for the next time (which hopefully will not be for a long while). Anyway, today the goal is to mount the gas tank which means getting the things that go under the tank done.
Air cleaner
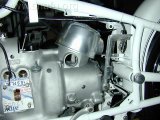
Air cleaner
I actually installed the air cleaner last night. The paint looks OK, even though it’s not the color I thought I bought. The air filter is new. It looks to be bigger than the older filter, though, as the cover does not seat all the way.
Throttle cables
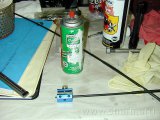
Cable lube
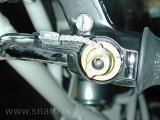
Throttle cam assembly
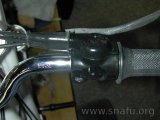
Throttle cables at grip
I lubed then installed the new throttle cables. The close up of the throttle assembly is before filling it with grease. I may need to adjust this later as there is no slack when the grip is twisted full off. A new rubber boot covers the cables where they go into the throttle.
Speedometer and clutch cables
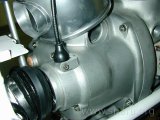
Speedometer cable at transmission
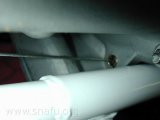
Clutch cable routing
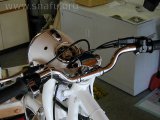
Cables at handlebar
I attached the speedometer cable the transmission. I lubed and installed the shortest clutch cable I had, but it did not fit due to the ratio between cable/sheath. I used one of the longer cables and it fits fine. The middle picture shows where the clutch cable fits in the transmission housing. I don’t think the cable is too long for my short bars.
Spark plug wires
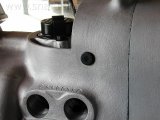
Spark plug wire grommets
Spark plug wires
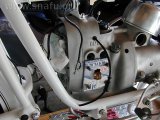
I put new grommets in the case and installed fresh spark plug wires. I haven’t put the ends on the plug wires yet, though. I’ll wait until the cylinders are installed for proper sizing.
Install magneto
Magneto rotor and points plate
Magneto rotor on camshaft
Magneto timing

Advance mechanism
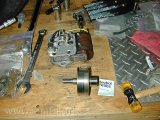
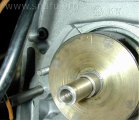
I cleaned the taper on the end of the camshaft and the matching taper on the magneto rotor with an alcohol swab before installing the rotor. I used a drop of oil on the outer surface where it rubs against the seal.
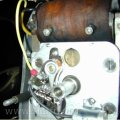
I turned the engine until the S mark was aligned and then installed the rotor with the dot-line mark up. The magneto rotor and body were installed so the line matches the notch in the points plate. In this case I’m using a Pentacomm points plate. The advance unit was installed after greasing the cam. I set the points while I’m at it.
Install generator
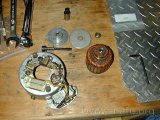
Generator
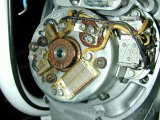
Generator installed
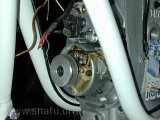
Generator w/vibration damper holder
The generate rotor and generator were then installed. The thing that looks like a pulley at the front of the generator is the holder for the missing vibration damping mass.
Rear tank bracket
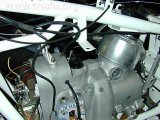
Rear tank bracket
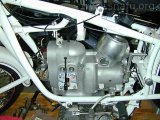
Engine top cover
The bracket that holds the rear of the tank was installed along with engine top cover.
Install tank
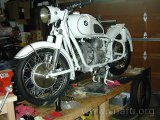
Tank, from front left
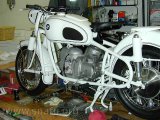
Tank, from rear left
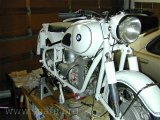
Tank, from front right
I installed the tank. I verified that the controls don’t touch the tank with the front wheel hard over and tightened the handlebars. Now it really looks like a motorcycle.