2000 February 19 (Saturday)
Ok, so the rocker arm assembly problem wasn’t much of a problem after all. I found all 34 needle bearings, cleaned them, then reassembled the assembly. This time I got the end play acceptable upon installation.
Install right cylinder head
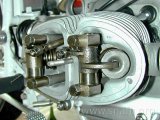
Right exhaust OK
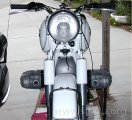
Proper beemer look
The right head was torqued, the valves adjusted, and valve cover installed. Now it looks like a BMW.
Install carburetors
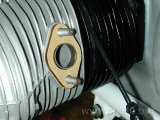
Carbureteor gasket
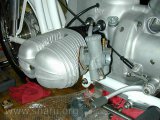
Carburetor installed
New gaskets and mounting hardware were used for the carbs. The metal rings inside the gasket (see first picture) were not new.
Throttle cables
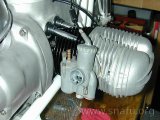
Throttle cable
Once the carbs were installed I hooked up the throttle cables. Here’s what the right side looked like.
Left throttle cable
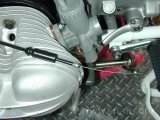
Throttle cable boot
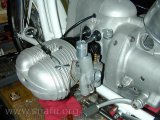
Cable, slide, and spring
One of the hardest jobs to date was getting the rubber cover that protects the throttle cable at the carb onto the cable. That sucker was tough! Once done, the cable was connected to the slide.
Spark plug wires
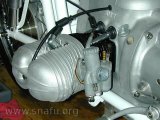
Spark plug wire sizing
The carbs were cabled, the spark plugs gapped and installed, and the engine filled with oil. It was getting very close to the end of the project. I put the spark plug cap on the plug and sized and cut the spark plug cables.
2000 February 20 (Sunday)
Carl told me at breakfast this morning that my earlier statement of “it’s beginning to look like a bike” was incorrect - it won’t look like a bike until the exhaust system is mounted. The ride after breakfast only lasted to 11:00 or so due to rain. Guess I’ll have to put the exhaust system on the bike to make Carl happy.
Exhaust system
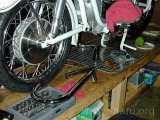
Exhaust parts
Pictures are some of the parts to install. They’ve been wrapped in newspaper for the last 16 months or so to keep them more or less clean.
Install exhaust pipes
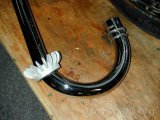
Exhaust nut and seals
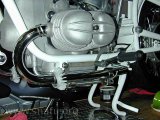
Left exhaust
The bits bits that need to slide on the pipes before installation were added and, after using lots of anti-seize, the pipes slid into the head. Nothing is tightened yet. Both sides were installed followed by the crossover piece.
Install muffler
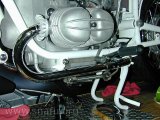
Exhaust nut fastened
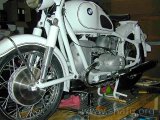
Left side of bike
The clamps were bolted to the rear engine mounting bolt but still kept loose. Then the mufflers were loosely installed. Keeping things loose let the system move a bit to make sure muffler mounting holes will line up. Once all the pieces were attached I torqued things down, first the muffler mounting bolts, then the clamp, and finally the finned nuts.
Side-stand clearance
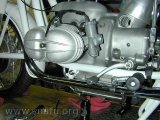
Side-stand location
The side-stand fit quite nicely with the pipes. There was enough clearance; it didn’t touch the pipes. It looked good, too.
Air intakes
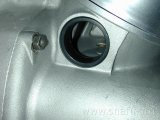
Air intake seal
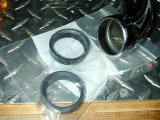
Air pipe seals
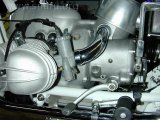
Left air pipe installed
I bought new air pipe seals when I bought the carb re-build kits. Installation was easy. I know I’m going to have to remove them to tune the carbs (to use my vacuum gauge), but I want to see what everything is going to look like.
Spark plug caps
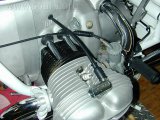
Left spark plug cap
A few inches were cut from both spark plug wires and the caps installed. When testing with the ohmmeter, I found a resistance of about 1000 ohms. They are resister caps. I’ll have to replace them.
Install horn
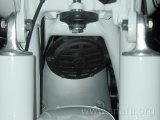
Horn from front of bike
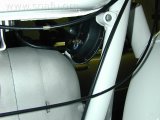
Horn from right side
I installed the horn. It works. Quite loud, actually. At least quite loud in a closed garage with no other noises!
Fuel petcock
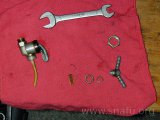
Fuel petcock pieces
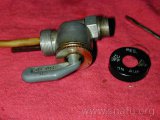
Dirty petcock case
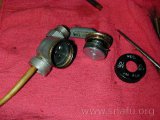
Petcock internals
I took the petcock apart and cleaned it. I found there was a missing internal seal ring. The seal rings for the drive shaft fill and drain plugs looks to be the right size. I have plenty of those.
Almost done
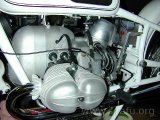
Almost done
Done! Well, it looked done, but I was actually missing one necessary part: the seal ring between the tank and petcock. I just put the petcock on finger tight to cut the fuel hose to size. I’ll pick up the seal ring tomorrow.