Tuesday, May 11, 2010 [19326 miles]
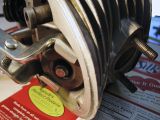
Intake valve
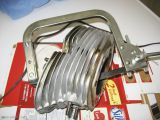
Ready to remove
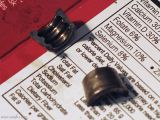
Keepers
Before removing and looking at the cylinders I want to pull the valves from the heads to make it easier to see what work might be needed. The parts pulled are put into separate bags for left/right, intake/exhaust in case we want to match a particular wear pattern in the head to a valve, etc.
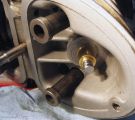
Slight burr
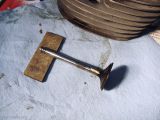
Burr removed with stone
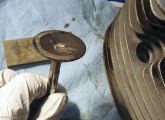
Valve
There was a slight burr around the ridges for the valve keepers that kept the valve from dropping out. I used a stone to remove the burr so the valve guide wont get nicked. They are a guestimated 30K miles old and may not need replacing.
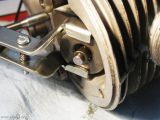
Exhaust valve
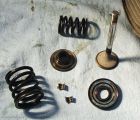
Valve components
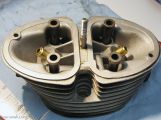
Right head
The exhaust valve practically dropped out of the head once the keepers and springs were removed.
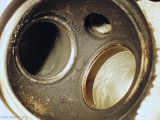
Combustion side
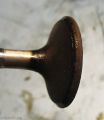
Valve edge
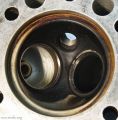
Left head
The intake valve on the left head needed a bit more work with the stone than the right side intake. Eventually it dropped out of the head. Now it’s time to look at cylinders and pistons.

Left piston
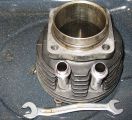
Score marks?
I used my custom bent 14 mm wrench to remove the left cylinder. All of the mounting nuts were tight and the gasket looked good, but there are marks on the case showing there was some leakage near the lower rear nut.
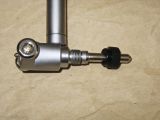
Cylinder guage
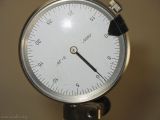
Ready to measure
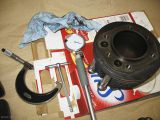
Not too bad
I set up my cylinder gauge for the appropriate size and then checked for taper and roundness. Taper can be up to .03 mm (.0012 inch) with the top smaller than the base. Out of round can be +/- .01 mm (.0004 inch). I found no taper, and no out of round. What I did find is that the center of the cylinder is about .0005 inch wider than the ends. Time to check the pistons.
Missing one clip
Left side done
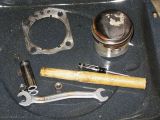
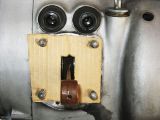
When pulling the left piston I wasn’t careful and lost one of the piston pin circlips. No big deal… it was going to be replaced, anyway. The wooden drift is what I use to push the piston pin out after heating the piston.
Later, when the pistons were at room temperature I measured them at the skirts 90 degrees from the pin. The left measured 72.885 mm and the right measured 72.895 mm.
Remove for cleaning
Can be re-used
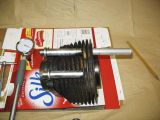
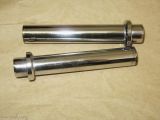
The right cylinder measured similar to the left, with no taper and no out-of-round, but almost .0005 inch wider in the middle than at the two ends. After measuring I knocked out the pushrod tubes for cleaning.
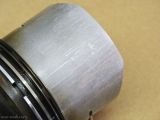
piston skirt
The piston skirts have some wear marks. The cylinders measured
at 72.996 and 73.003 mm. When I match piston to cylinder I get:
72.996 mm - 72.885 mm = 0.111 mm (left)
73.003 mm - 72.895 mm = 0.108 mm (right)
The specified clearance is 0.08 ~ 0.09 with 0.12 an absolute max.
Honing the cylinders to take out the wide spot will put me over the max. I
won’t hone that much.
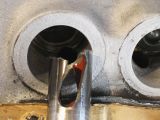
So that’s where the grit came from
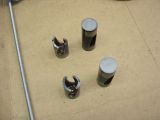
Both exhaust tappets
I suspected the tappets as the source of the grit I found in the oil change that started all this. Broken tappets, however, surprised me. Two broken tappets, (both exhaust) was even more surprising. The broken parts are still in the engine case. I think my next task is to remove the transmission.