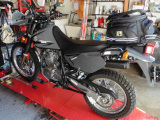
Monday, Oct 6 2014 [524 miles]
Close enough to 600 miles
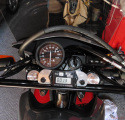
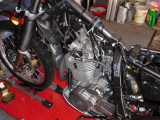
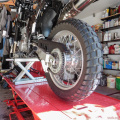
Starting point
It’s close enough to 600 miles plus the tank is on reserve. I’ll start the 600 mile service today doing the “cold bike” items. I’ll drain the oil after a test ride when the engine is warm. Probably tomorrow.
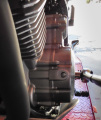
Saddle removed
Fuel tank lines

Removed and plugged

California vent line removed, too
I was happy to find that my Sargent saddle just fits under the Dirtracks luggage rack. I can push the saddle to the rear just enough to remove it from the bike. I got a little ahead of my self by trying to remove the tank after unplugging the lines from the petcock. Oops… need to unplub the line to the Evap canister, too.
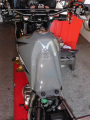
Tank removed
Will remove plugs
Access ports to find TDC
Remove tank, plugs, plugs to locate TDC.
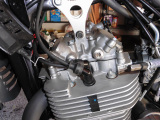
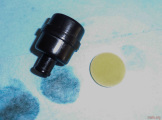
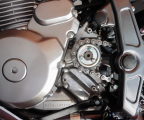
Plugs are fine
At TDC
The plugs are fine. At less than 600 miles they’d better be. Took two tries to find TDC since I didn’t know what the mark looked like and was turning the engine too fast to stop it in time. Now I know.
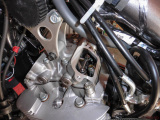
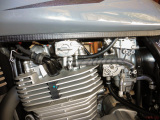
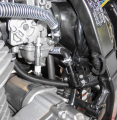
Intake
Exhaust
The intake valves were slightly loose. The exhaust valves were slightly tight. Both were probably in range. I adjusted them anyway. Why? I wanted to see how difficult/easy the job is. FWIW boxers are easier to work on!

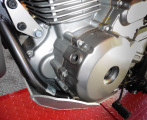
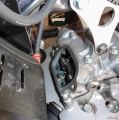
California vent braket covers airbox cover
Air filter
California bikes have an extra bracket that covers the cover to the air box. The bracket holds the lines to the evap canister and the slack in the pigtail I wired to my battery for heated gear and what have you. It only takes an extra minute or two to loosen the bracket enough to remove the cover.
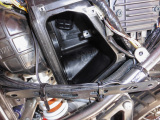
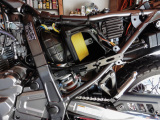
Clean air box
Cleaned and oiled
Breather filter
The airbox was clean. The filter was mostly clean. The carb breather filter was dirty. All are clean and oiled, now.
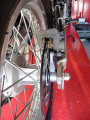
Brake pads and rotor
Brakes and pads are fine. The front rotor measures at slightly over 4 mm. The rear at 4.38 mm. I measured to get a baseline to compare in later services. I expected the rear to be closer to 4.5mm. Perhaps they come a bit thin from the factory.
Raise rear wheel for chain love
Cleaned and oiled
I put a scissor jack under the bash plate and tied the front end down to raise the rear off the lift for some chain maintenance. It is now clean and oiled. While the oil was out I lubricated the recommended items.
Not pictured was checking the various chassis bolts and nuts recommended by the service manual. All are tight. I also checked that lights and horn work. I put the battery on a charger. It indicated full charge within a few minutes. That’s usually a good sign.
Remove bracket to attach vent tube
More tomorrow
Before putting things back together I installed some bar risers. After installing the tank I decided that it was easier to unscrew the bracket holding the roll-over valve and then attaching the tank breather tube. Yup. I’ll remember that next time I pull the tank.
That’s all for today. Tomorrow afternoon I’ll take it for a test ride and get it warm before changing