Monday, 24 Jan 2011 [59966 miles]
It seems the world is conspiring to keep this a long, drawn out service. Record seasonal temperatures make the garage uncomfortable in the afternoon and today, the my new laptop arrived, delaying entry to the garage as I spent time getting it up and running before starting to migrate files to the new machine.

Rear wheel bleed
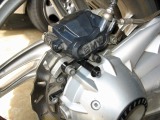
Remove mud guard
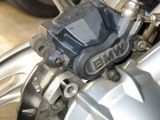
pad pin removed
Today I’ll start by bleeding the rear wheel circuit. But before I do that the rear caliper will have to come apart for cleaning. I find that a sliding caliper as used on the rear gives better braking feel when all parts move smoothly.
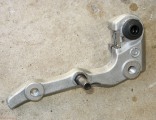
Caliper cleaned
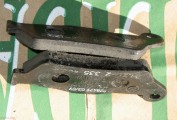
Pads cleaned
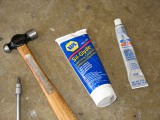
Caliper lubes

Anti-squeal spray
Once the parts were cleaned and blown dry I applied fresh lube (the sil-glyde is used inside the rubber boots) and sprayed the pads with an anti squeal spray. After setting for about 10 minutes everything is ready to go back together.
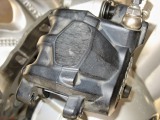
Going back together
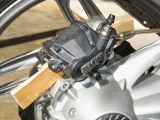
Pads held apart
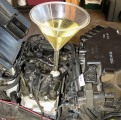
Rear wheel circuit
I sucked some old fluid out of the rear abs reservoir before using shims to push the caliper pistons in. Then I sucked more fluid out of the reservoir and attached the funnel to feed fresh fluid. The procedure is simple. Attach wrench and drain tube to caliper. Turn on ignition. Depress rear brake until the servo motor starts. Open bleed valve and watch the fluid level in the funnel go down. Close bleed valve before funnel is empty.
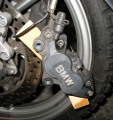
Front left
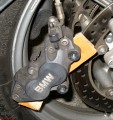
Front right
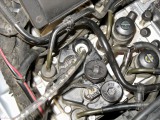
Suck out old fluid
The only difference in the front is that there are two calipers to bleed. After removing the calipers from the forks I checked pad thickness. Lots of pad left. Using a catch pan under the calipers I used lots of brake-clean in a spray can. Like the rear, I sucked out a bit of fluid, depressed the pistons on both calipers with shims, then sucked out the remaining fluid from the reservoir.
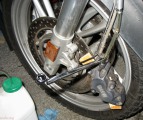
Bleed line attached
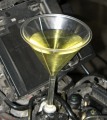
New fluid ready

Suck out excess after bleed
I bled the left side, then the right using the same procedure I used for the rear. At all bleed points the brake fluid coming out was the same color as the new fluid going in. I stopped the bleed with a touch of fluid in the neck of the funnel. My brake fluid syringe uses tubing that fits inside the neck. I use it to suck out the excess fluid so it doesn’t spill all over the ABS unit when I remove the funnel.
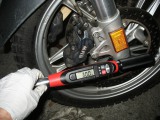
30 Nm

Back together
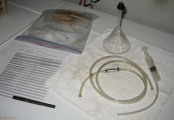
Clean bleed tools
After re-installing the calipers on the forks and cleaning the bleed tools I turned the bike back on and hit the brakes until the pads were pushed against the rotor. Then I topped off the fluid level in the ABS reservoir for both front and rear wheel circuits. Failure to do that can lead to low fluid warnings. While the bleed tools were drying I also checked rotor thickness on all three rotors. All are well within spec. The after marker rear rotor seems to be wearing slower than the original, too.
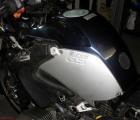
Tank back on bike
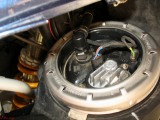
Fuel pump connections
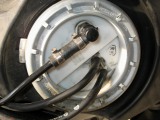
Fuel return connections
Since I’m finished under the tank I put the tank back on the bike. That gets it off the floor and out of my way in my small garage. It’s nice to be able to reach the workbench without tripping over the tank. I used some sil-glyde on the o-rings before re-attaching the fuel pump and fuel return lines. No problems doing that to date… but I keep spare fuel system O-rings on hand just in case.
Tomorrow I’ll change the FD oil (which is why I didn’t attach the rear caliper, today) and hopefully get to the valves.