Tuesday, May 13 2014 [10,083 miles]
I’ve got everything I need. It’s going to be a hot day. I’m starting the install before lunch so I can finish before the garage gets uncomfortable.
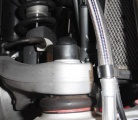
Ball joint dust cap
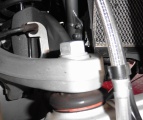
ball joint nut
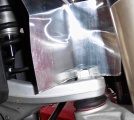
heat shield
I formed a head shield out of some scrap sheet metal to protect the brake lines, ABS speed sensor wiring, ESA wiring, etc. It took a few tries before I was happy with the result. The picture was of one of the earlier tries. I didn’t like it because the metal of the heat shield was touching a brake line.
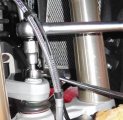
Loosen nut
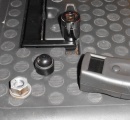
nut removed
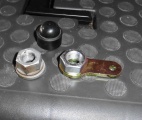
old and new
I heated the nut to about 250 ˚F. and tried to loosen it. Nope. Didn’t think so. I brought the temp up to about 300 ˚F and it came loose.
I was wrong about the nut having a shoulder. It instead has a captive washer. The third image compares the stock nut with captive washer and the replacement nut with bracket.

Cleaned threads
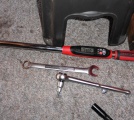
130 Nm
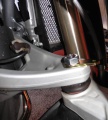
Bracket installed
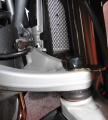
Home made dust cover
I cleaned off any remnants of thread locker from the stud and added some fresh red (high) strength locker. I used a box wrench on the nut and an allen wrench to keep the stud of the ball joint from moving until it was good and tight. Then I switched to my torque wrench to bring it to the specified 130Nm of torque.
I bent up some of the same sheet metal I used as a heat shield into a dust cover for the new nut then covered it in tape. I don’t know if it will hold or not. I want some kind of protection to keep moisture out if nothing else.
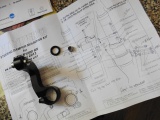
Parts for damper clamp
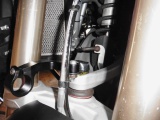
damper clamp installed
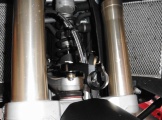
Another view
The damper clamp moves freely when installed. Good.
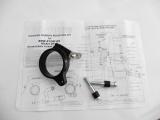
fork clamp parts
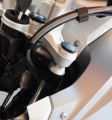
Left fork leg
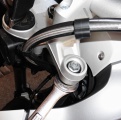
Remove nut to drop leg
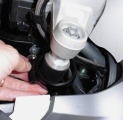
Fork clamp
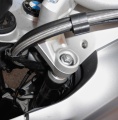
Torqued to spec
The left fork leg has to be dropped to install the damper fork leg clamp. Tools are a 22 mm open end wrench and a 14 mm socket. The leg is dropped and the clamp slid over the fork. After lifting the fork leg back into place the nut is torqued to 40 Nm.
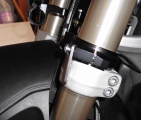
Stock hardware
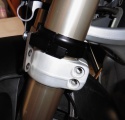
Stock hardware removed
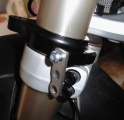
Spacers installed
The lower triple clamp screws are replaced with spacers, a bracket, and new screws. Once torqued (10 Nm) the bracket is attached to the fork clamp. My picture of the installed unit came out too blurry to see.
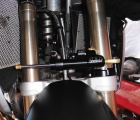
damper rough position
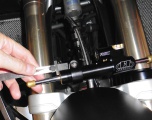
18 mm spacing
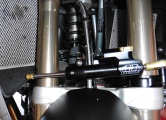
(Bike) right doesn’t touch
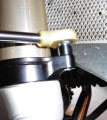
(bike) left did
I slid the damper into its bracket then attached the damping rod to the fork leg clamp according to the instructions. That is the rough position. The instructions call for 18 mm from the end of the damber body to the clamp. I measured that out and tightened the clamp. The last step is to check for side to side clearance.
No part of the damper touches the body work at full lock to the right. At full lock to the left the fork clamp bracket ever so slightly touches the plastic radiator shroud. No cutting was needed… I instead filed down the plastic until the bracket didn’t touch.
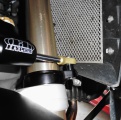
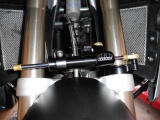
These two pictures were taken before I set the required 18mm spacing. I got ahead of myself a bit in checking fit.
The front end feels find moving the handlebars side to side in the garage. Tomorrow I’ll take the bike on a test ride and see how it feels on the road. I set the damper 4 clicks from least amount of damping. The instructions say to always leave at least two clicks of adjustment at both ends.
Wednesday, May 14 2014 [10110 miles]
My test ride consisted of some city streets, fast twisties, slow tight twisties, and freeway. The results:
Don’t notice the damper in drivway and parking lot maneuvers. That is a good thing.
Barely notice the damper at almost stopped speeds when you are swinging the handlebars back and forth to maintain balance instead of stopping and putting your foot down.
The bike feels different in the twisties. Not better, not worse, just a little different. The difference is less than I notice after installing new rubber.
I aimed for road imperfections which used to cause some front end twichiness. The bike now handles better in that situation. That’s not to say it handled bad without the damper.
I barely noticed the damper on the freeway until I intentionally got close enough to big rigs to feel the turbulence. Then it helped.
I think the damper also helped when twisting the thottle in dynamic mode which lightens the front end.
Nothing bad. A little good. About what I hoped for. The real test will be when I get the bike on some dirt roads.