1998 December 26 (Saturday)
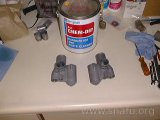
Front brake housing
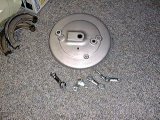
cleaned brake housing
I bead blasted the now clean front brake housing. In the picture just below the housing you can see some plated parts: one of the front actuating levers and the rear break linkage levers are zinc plated. The rear actuating lever is chrome plated. I’ve one more front lever to get. These are parts that Joe had plated earlier. I traded my parts (plus plating costs) for these. The chrome lever is temporary. A plated lever will eventually replace it
Carburetor flange
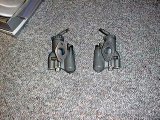
Carburetor flanges
Before tearing the carburetors apart and cleaning them I checked the mounting flanges. They were quite warped, a common problem. A few seconds on a belt sander made them nice and flat again. Don’t know if that can be seen in the picture, though.
1998 December 28 (Monday)
Disassemble carburetors
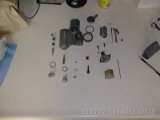
Carb disassembly

Carb disassembly 2
I pulled the first carburetor apart for cleaning. Before stuffing the parts in the carb dip I laid them out and took these pictures so I’d be sure to know how they are supposed to go back together.
Carburetor body cleaning
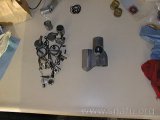
ready for cleaning
This picture is the second carburetor body. The first body is soaking in the cleaner. The miscellaneous parts for both carburetors are on the left.
Carburetor part cleaning
Cleaned carburetors
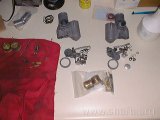
Ready for assembly
Both bodies have been cleaned and the miscellaneous parts are in the cleaner now. I’m cleaning the parts I’m replacing as I’ll keep them as emergency spares.
Everything is ready to go back together. The parts on the rag are the old parts being replaced.
1998 December 29 (Tuesday)
Carburetor assembly
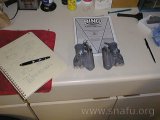
Assembled carburetors
Both carburetors went back together fairly easily. It was a bit difficult with one of the idle jets – it wanted to cross thread, something I could not let happen. A little patience was all that was needed. The new jet needle was set to the 2nd clip position from the top as specified in the Bing manual. The old needle was also in the 2nd position. The mixture screw was set at two turns, the recommended starting point. The carburetors were then wrapped in bubble wrap and boxed until needed.
1998 December 30 (Wednesday)
Frame modifications
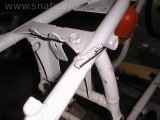
Tab removed with cutting wheel
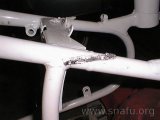
ground down tab
The previous owner welded tabs onto the frame to support his Harley style solo seat. They have to go. I used a cutting wheel on my Dremel tool to cut the tab off. Still lots of material left as can be seen in the first image.
The material left from the first cut was removed, approximately 1/4 inch square at a time to ensure I didn’t cut into the frame. This is about as close as I wanted to get to the frame with the cutting wheels. I’ll have to file and/or grind off the rest.