1999 January 24 (Sunday)
Drive-shaft

Driveshaft bell removal attempt
I attempted to remove the bell from the end of the drive-shaft using a generic puller. It’s wasn’t going to happen. The jaws barely attached to the bell and the tension on the puller was such that I was worried about would would happen if the jaws slipped. I ordered the proper tool and will return to this task once the tool is in hand.
Later…
It’s time to pull the crank and see how bad the slingers really are. First, the timing and oil pump gears will have to be removed.
Timing and oil-pump gears
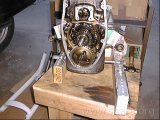
timing and oil-pump gears
The oil pump drive gear (bottom gear) is held on with left hand thread nut and a safety plate. After bending back the plate and removing the nut a slight rap with a plastic hammer loosened the gear. My bike did not have the tachometer take-off gear nor the spring washer.
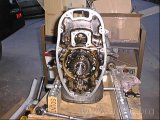
bearing in front of timing gear
I removed the bearing on the front of the crankshaft. There is nothing between the bearing and the timing gear on an R69S, unlike other models which have a lock-ring and shim.
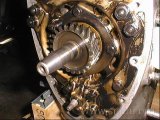
Timing gear
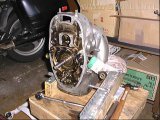
Timing gear pulled
I used puller in the the Ed Korn many-in-one kit to remove the timing gear. It is a tight interference fit and took some effort to remove. More tomorrow.
1999 January 25 (Monday)
Saturday I put the engine in the trunk of my wife’s car and took it to a friend who has a big air compressor and an air driven impact wrench. A 1 5/8 socket (very close to the needed 41 mm) on the impact wrench loosened the cap screw on the flywheel.
Flywheel
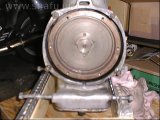
Blurry picture of flywheel
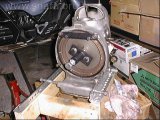
Pulling flywheel
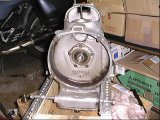
Flywheel removed
With the cap screw loosened I used the puller to remove the flywheel. It came loose with a very loud (and somehow satisfying) pop. There is some wear around the sealing surface.
Front bearing w/carrier
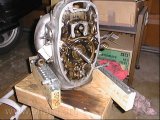
Front bearing carrier in case
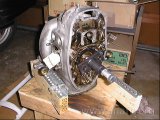
Pulling front bearing
I removed the nuts and screws holding the front bearing carrier. There are two lengths of M6 screws, 22 and 28 mm. I note which go where in my notebook. I mounted the puller and removed the carrier. I didn’t remove the bearing from the carrier at this time.
Front oil slinger
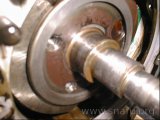
Blurry front slinger on crank
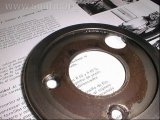
Full front slinger
This was the front slinger. The first picture is blurry, but you may be able to see where the connecting rod bearing oil feed hole was partially blocked. The side of the slinger opposite the oil feed hole was completely full. I suspected a crank rebuild was in my future.
Rear bearing
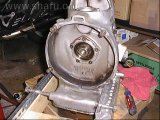
Crank, before freeing rear bearing
Crank, loose in case
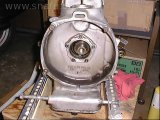
I removed the rear oil seal then heated the case. Using a tool to maintain proper bearing alignment I tapped the back of the crank to pop the bearing out of the case. You can see that the bearing is no longer seated if you look closely at the second picture.
Crankshaft

Crank, with rear bearing and slinger
Removing rear bearing
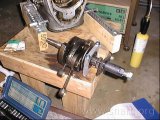
I removed the crankshaft with rear slinger and bearing attached. The first picture shows the bearing and slinger. The second picture shows the tool to remove the bearing. The bearing came off much too easily, indicating that it likely spun on the crank. This was further indication that a crank rebuild was in my future.
Rear slinger
Crank on bench
Blurry close-up of rear slinger
Crank and rear slinger
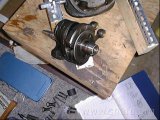
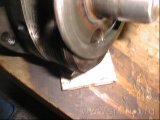
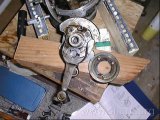
The first picture shows the slinger. The close up (blurry again, sorry) shows that the connecting rod bearing oil access hole is completely blocked. This is worse than the front slinger.
The crank will be sent out for repair.