1999 January 27 (Wednesday)
Cleaning slingers
Blurry image of slinger crud
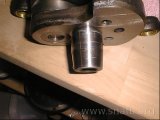
Rear crank journal
I cleaned the crud out of the slingers. Alas, the only photo I took is quite blurry. The second image is of the crank where the rear main bearing sits. Since the bearing spun on the crank this area will have to built up (hard chromed) then ground down to the proper size.
1999 January 29 (Friday)
The crank was boxed up and sent out for re-build. I decided to have new connecting rods installed, too.
1999 January 30 (Saturday)
The mailman brought toys today: some bearings and tools I ordered from Ed Korn.
Drive-shaft

Drive-shaft removal prep
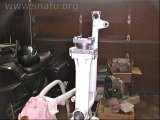
Drive-shaft puller
One of the tools was the puller needed to safely remove the drive-shaft from the rear swing-arm. I mounted the tool with threads and bolt heads greased and the bolts tightened to 15 ft-lbs. The plan was to increase torque in 5 ft-lbs increments. The coupling hub popped at 25 ft-lbs. I didn’t need to use hammer nor heat.
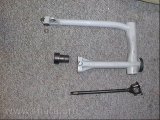
Drive-shaft and swing-arm
I was going to visit a welder to have a bead placed on swing-arm bearing races. That would cause them to shrink, making them easy to remove. Instead I found that I could use a slide hammer and puller to get the job done.
1999 January 31 (Sunday)
Some people were watching the super bowl. I removed the oil pan from the engine case and started cleaning the housing.
Oil pan
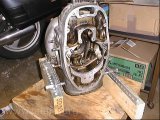
Empty engine housing
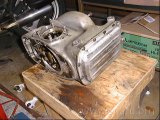
Oil pan
These pictures shows the empty housing and the oil pan. I moved the engine to the edge of my work table and put a drip pan underneath to catch the little bit of oil that spilled when the pan was removed.
Oil strainer
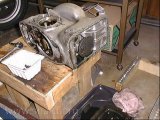
Oil pan removed
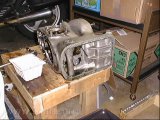
Oil strainer removed
With the pan removed you can see the internal oil screen and the end of the dip-stick in the first picture. The second picture shows a better shot of the end of the dip-stick after the oil screen was removed.