1999 March 29 (Monday) [continued]
Install rear slinger

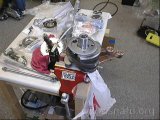
Rear slinger on crank
After lunch I attached the rear slinger to the crank, installed the spacer with the chamfer facing the slinger, and got ready to press on the rear main bearing. This is the second “Oh, no!”. The procedure is to place the bearing on the crank then fit a sleeve that fits between he inner race of the bearing and the flywheel cap screw. The bearing can then be pressed on the crank by tightening the 41 mm (about 1 5/8 inch) cap screw.
I didn’t have a 1 5/8 socket or wrench! I’d had a friend help remove the screw using his socket and impact wrench. It was time for another side trip, this time to Sears. $16 something plus tax later and I was finally ready to install the crank.
Installing crank

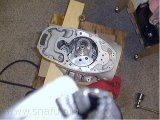
Crank in case
I put the case in the oven to get it good an hot then use my newly purchased socket to press the rear main bearing onto the end of the crank. I took the case out of the oven (hot!) and install the rear camshaft bearing I bought before lunch. Then I futzed around trying to install the crank. Which way did this conn rod go? Did the front web go up or down? Damn it, the engine was cooling.
I finally got the crank is in position and installed the rear bearing alignment tool to seat the crank in the case. I thought. The picture shows the crank and the rear camshaft bearing in the case.
Front slinger and bearing

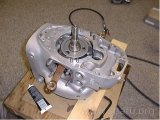
Front slinger
I installed the front slinger, setting the screws with an impact driver, possibly not the smartest thing to do. I then staked the screws and placed the front bearing carrier with bearing over the nose of the crank – oops, don’t forget the spacer – and started pressing it into place.
Crap! It won’t go. Looking closer I see the the rear bearing did not seat all the way. The case was too cool. I’ll call today a practice run. Tomorrow I’ll repeat the procedure and maybe get it right.