1999 March 30 (Tuesday)
I reviewed my notes, read the factory manual, and looked at the Clymer book. Maybe things would go better this time. At least I shouldn’t have to make side trips for tools and parts (I hope). One thing I noticed in my review is that I didn’t heat the case enough yesterday.
Removing crank
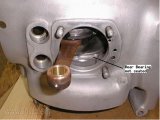
bearing didn’t seat
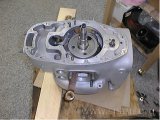
Front bearing holder removed
The first picture shows how the rear bearing did not seat. The slinger should be resting on the rear flange. Once the front bearing holder is installed the crank is pulled forward, toward the front bearing to give the proper spacing in the rear.
I first removed the front bearing cover. The second picture shows one of the oil pump gears where it fell out of the front cover. Then I removed the spacer the front slinger. I heated the back of the case with a torch to remove the crank. Finally the case went back in the oven, this time at 250F instead of yesterdays 200F.
Installing the crank, again
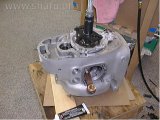
Installing front bearing
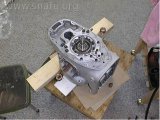
Crank installed
The case was hot. I inserted the crank into the case with the front web up then attached the rear bearing aligner tool. This time I could feel the bearing slide all the way into the case. A glance at the rear showed that all was OK. I then started to press on the front bearing – oops. Slow down.
The front slinger and spacer had to go on the crank before the bearing. Once they are installed and the slinger staked down I put some assembly lube on the oil pump gears to help hold them in place while pressing the front bearing with carrier onto the nose of the crank. When it got close I bolted/screwed the bearing carrier down then pulled the the crank toward the front until the spacer just touches the front bearing. Phew.
Remove bearing alignment tool

bearing alignment tool in use

bearing alignment tool removed
Once the crank is installed properly the rear bearing alignment tool was no longer needed. I turned the case around and removed it.
Install timing gear
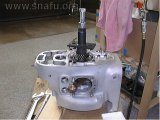
timing gear istallation
It took two tries to install the timing gear as I didn’t get the woodruff key aligned properly the first time. I found a lot of heat really helps with the installation of this gear. I held the gear with a pair of channel locks when applying heat.
Install camshaft
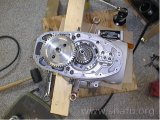
camshaft installation
I installed the camshaft next. The mark on the cam gear was aligned with the mark on the timing gear. I used an impact driver to set the 4 screws holding the front camshaft gear carrier to the engine. I also added extra oil to both camshaft bearings before installation.
Install oil pump drive gear
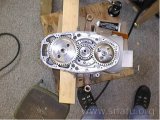
oil pump drive gear
I used an alcohol swab clean the cone where the oil pump drive gear is installed. I also cleaned the inside of the drive gear. Once the alcohol had evaporated I installed the gear, the lock plate, and tightened the left handed nut. Finally the tab of the lock plate was bent up to hold the nut in place.
Install rear main seal
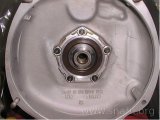
oil spash ring/rear main seal
I installed the oil splash ring then carefully pushed a new rear main seal into place, leaving the desired 1 mm protruding from the casting. I used a generic bearing/seal drift to do that job.
That was all for today. I put the engine on the work table covered with a plastic bag to keep dirt and dust out. I moved the work cart out of the way so I could put my wife’s car back in the garage.