Saturday, July 10, 2010 [19326 miles]

New slingers
The new slingers are tacky with some type of preservative. I cleaned the one I opened off with some WD40 in preparation for putting the slinger and rear main bearing on the crank. That was the plan, anyway. As is usual when I work on the bike things don’t seem to follow my plans!
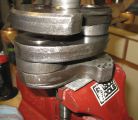
Soft jaws
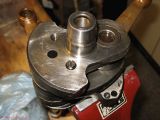
Checking threads
I put the crank rear end up in the vice, held with soft jaws and not much pressure. I test fit the slinger screws to see if any thread chasing was needed. Nope, both screws went in using minimal finger pressure.
While the crank was in this position I dribbled some fresh oil into the channel that feeds the main roller bearings for the rear connecting rod until is started dribbling out the bottom of the web.
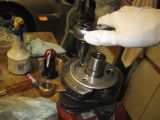
Installing slinger
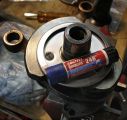
Staked and loctite
I installed the slinger using blue loctite on the screws and staked the screws into place. I don’t think they are going anyplace.
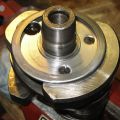
Thin Spacer
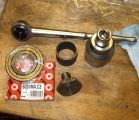
New bearing
The thin spacer is in place and the bearing and installation tools are ready. Yes, I let Brent convince me to use a 6207 on the rear instead of the barrel roller bearing usually found on an R69S. Out comes the heat gun to get the bearing hot for installation.
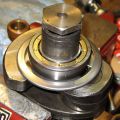
Installed?
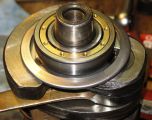
Maybe not
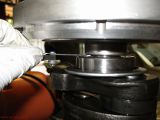
Not enough space
Maybe I didn’t use enough heat. Or the bearing cooled too much when I repositioned the crank to press the bearing. In any case I don’t think the bearing is all the way to the spacer. The Barrington book suggests at least 0.065” between the bearing and the flywheel. I’m closer to 0.052”. I think I need the use of a press with a proper jig to hold the crank to make sure the bearing is all the way on. Another delay.
Sunday, July 11, 2010 [19326 miles]
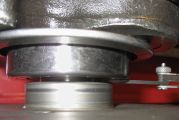
Head room
I stopped by Joe’s after breakfast to use his crank holding jig and press. There was a short little pop as the bearing seated all the way to the spacer. The picture is of the back of the crank standing up from the flywheel. The measured space is now over 2 mm (0.083”). The crank is ready to install in the case.