Monday, July 19, 2010 [19326 miles]
While the contractors are tearing apart portions of my house, excising all traces of dry rot I’m going to work on the bike.
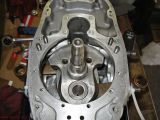
Crank installed, again
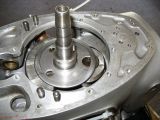
Slinger installed
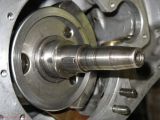
Front spacer

Front bearing w/carrier
The above should all look familiar, given that I did it just last week. This time the crank wound up centered without the slingers wobbling as I rotated the engine. It took a few taps with a drift to get the slinger to seat, something that wasn’t necessary with my original slingers. Live and learn.
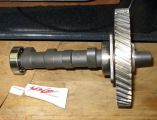
New cam and goop
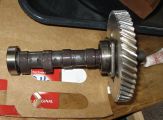
Gooped cam
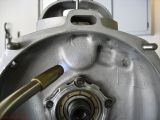
Heat for cam install
The new cam came with some special goop to slather on the lobes; a fancy assembly lube. I guess I was so excited about getting to the next step that it wasn’t until the cam was completely installed that I realized I hadn’t installed the main timing gear, yet.

Timing gear installed
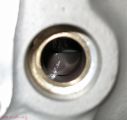
Cam position

Rotates freely
I checked with the gear cold, and didn’t see any reason why I couldn’t get both the timing marks and the woodruff key aligned. Worth a try. With the gear at 300 degrees plus and a little care it dropped over the nose of the crank in proper alignment.
I used the presser to make sure it was fully seated. Once cool I checked how the engine feels. Nice! Everything rotates freely. No binding. Better than I remember it feeling when it went back together 10 years ago.
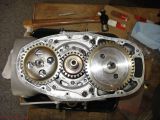
Oil pump gear
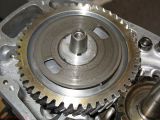
Breather
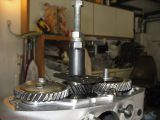
Generator bearing
I installed the oil pump gear with it’s left handed threaded nut and bent over a tab on the safety washer. The washer, spring washer, and breather are on the cam gear. I used a heat gun to warm the generator bearing before dropping it onto the nose of the crank. I put the presser on to keep it in place as it cooled.
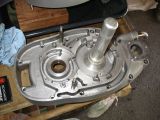
Installing seals
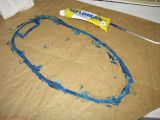
Timing case gasket
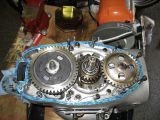
Lots of assembly lube
I put the seals in the timing case cover and a thin layer
of hylomar on the gasket. My tube of hylomar is quite hard, making it
hard to get a really thin bead. I think this will be its last use.
The timing cover screws are keeping the gasket in place on the case as I
put hylomar on the other side of the gasket. I also had to snip a bit
off the the gasket where it goes around the two screw holes closest to
the bottom of the cam gear. I believe that is common.

Timing cover installed
I removed the timing cover screws from the case, heated the cover near the location for the generator bearing, then pressed the cover onto the case with my hands. I used blue loctite as I installed every cover screw. The screws were torked in steps with the final step being 8 Nm, a very common value for M6 screws into aluminum alloy.
I would have done more but the contractor needed me. Perhaps tomorrow the engine will go back in the frame where it will sit for the remainder of the job. I’m not 100% sure about that, yet.