Tuesday, Aug 3, 2010 [19326 miles]
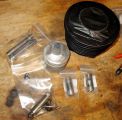
Parts for the right side
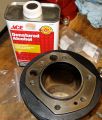
Remove tape residue
I grabbed the parts for the right side top end after perusing old pictures to see which cylinder went on the right side; necessitated by painting over my R and L markers. The cylinder with a repaired fin goes on the right. I removed the masking tape and used some alcohol to get rid of all the tape residue.
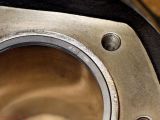
A bit tight
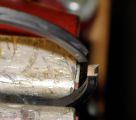
Filed
Down a bit
Just right
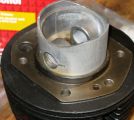
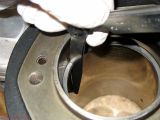
The new rings were a touch tight. A few strokes of the file got them to their 0.25 mm (tested here with a 0.20 and a 0.05 blade) minimum.
Fail!
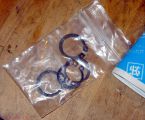
And that’s when work stopped. I ordered some piston pin clips about a dozen years ago and threw them in a drawer. I knew I had them so didn’t bother ordering new ones this go-around. Fail. I don’t know what these clips are for but they sure as hell won’t fit in my pistons. I’ll scrounge up some clips tomorrow, and hopefully get the top end back together Thursday.
Thursday, Aug 5, 2010 [19326 miles]
Piston mods
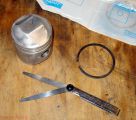
Checking ring clearance
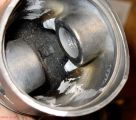
Yesterday I picked up a needed circlip from Brent and, while I was there, used his scale to check pistons. Hmmm, one was about 1.7 grams heavier than the other. He loaned me his dremel and I removed excess metal from the inside of the piston until they were the same weight. Today I washed and blew dry the piston, then started measuring ring clearance. OK.

Almost there
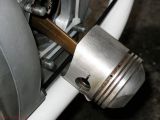
Ready for rings
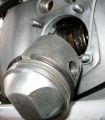
Top toward the crown
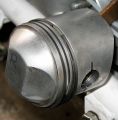
All three rings
I inserted one clip, heated the piston, and pushed the piston pin into place using a wooden drift while holding the piston with a rag in a gloved hand. While it was cooling I looked for the piston ring expander tool I used not that long ago. Couldn’t find it so once the piston cooled installed the rings using my fingers. Just as easy, anyway. The other circlip was installed before the rings.
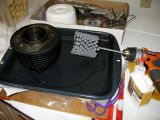
Cylinder hone time

Honed and washed
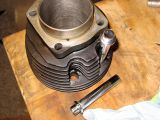
Push rod tubes
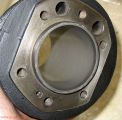
That’s a new ball hone, pictured. I oiled the hone then gave the cylinder about 10 seconds of slow swipes then another 5 seconds or so of fast swipes. I washed the cylinder in hot water using a brush and some simple green, then dried it and applied some WD-40 to stop it from flash rusting. The marks seen in the second image look much worse than they actually are. They can not be felt using the finger nail test.

Gooped gasket
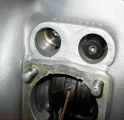
Lifters in right side

Silicone grease
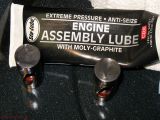
I gooped up the cylinder gasket, slobbered assembly lube all over the lifters, and installed both on the bike. The pushrod seals got a coating of silicone grease to make pushrod tube assembly a bit easier.
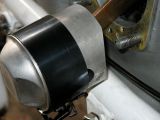
More pain than worth

Cylinder installed

Cylinder base nuts
The piston ring compressor is more pain than it is worth. I removed it and used my fingers to compress the rings one at a time as I installed the cylinder. It was easier that way.

Left cylinder
Ring gaps
Honed, ready for wash
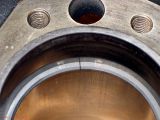
Time to work on the left side. I removed the masking tape, cleaned off the tape residue, checked the ring gaps (only the oil scraper needed adjustment) and honed the cylinder. The picture is after honing, before washing. I washed, dried, and gave the cylinder the same WD-40 rub down that I did for the cylinder on the right side.

Left piston installed
Gooped up lifters

Gaskets
Special tool
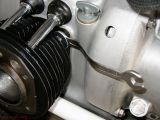
The left cylinder went on the bike the same as the right. It was about this time that the contractors putting in a new door between garage and kitchen needed my attention so I buttoned up the bike for the day. Tomorrow, the heads should get installed.