Tuesday, Aug 17, 2010 [19326 miles]
It’s been almost two weeks since I last worked on the R69S. More household repairs and some painting took precedence. I wanted to get the bike back on the road last month. Didn’t make that goal. Perhaps this month? Getting real close.
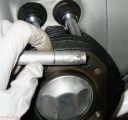
Dressed tool

Adjust pushrod tubes
Last thing I did was mount the cylinders. Today I dressed the tool used to set the pushrod tubes with a file, removing the lip formed as the tool was used to push the tubes into the cylinder. Once dressed I pushed the tubes back into the oil seals that are still nice and soft.
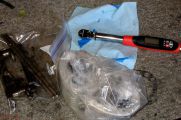
Head parts and tools
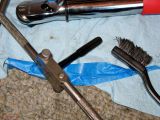
Thread chasser
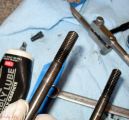
Before mounting the heads I chased all of the head screw threads. Good thing. Some of the spray paint made its way into the back side of each hole. The tap eliminated the wayward paint.
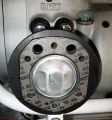
Dry gasket
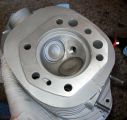
Right head
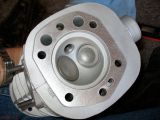
Left Head
New head gasket; goes on dry. Freshly refurbished head. Oops, wrong head. I’m working on the left side of the bike. Grab the correct head. That’s better.
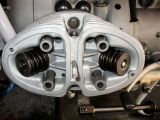
Head on cylinder
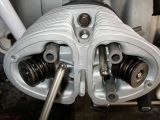
Pushrods
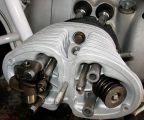
Rocker arm assembly
The head is held in place with the top and bottom screws while I put some assembly lube on the end of the pushrods and install the rocker arm assemblies. I back off the the rocker arm adjusters so there is no pressure on the pushrods. The engine is also at TDC, but I don’t know which cylinder is on the compression stroke.
Butterhead marks
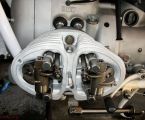
Left side torqued
Note the marks on the upper head screw, just before the threads. That is where the screw was rubbing on the channel through the head, one of the signs of a butterhead. I suspect that at one time that screw was used on the right side exhaust which has caused me the most grief. The channels were drilled out (again!) as part of the head work.
Right side
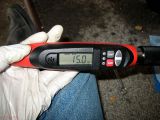
Start at 15

no more adjustment
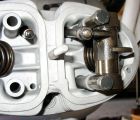
After torquing the left side I moved to the right. New gasket. Head installed. Pushrods and rocker arms installed. Adjusters loosened. Torque to 15 ft-lbs and….. I can’t loosen the adjuster enough to make sure there is no tension on the pushrod. Guess the left side was at TDC. I rotate the engine using the kickstarter and the pushrod is loose, again.
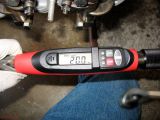
20 ft-lbs
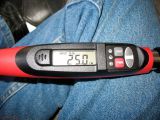
25 ft-lbs
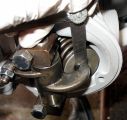
Adjust valves
Other side
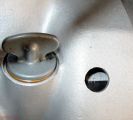
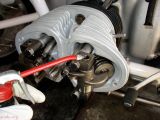
Torque to 20 ft-lbs. Torque to 25 ft-lbs. Set the valves. Go back to the left side. Rotate the crank so it is at TDC and set the valves on the left side, too. Once both sides were set I used the kickstarter to turn the engine through several revolutions and then checked the valves on both sides, again. No change. Good.
Valve cover
Oil rockers
New plugs
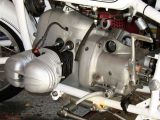
Buttoned up
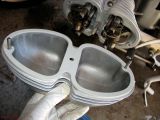
I cleaned the valve covers and installed both sides using one of the permanent silicone gaskets. I’ve never used one, before. I hope it truly is permanent.
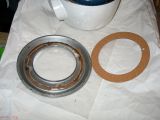
Air cleaner gasket
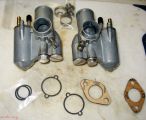
Carbs and gaskets
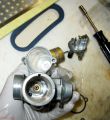
Float bowl OK
While on the subject of gaskets I had to scrape off the old gasket for the air cleaner. I buffed the gasket area with steel wool to get it ready for the new gasket. My carbs, which were cleaned not that many miles ago, will also get new gaskets and a new O-ring for the carb top. The inside of the float bowl looks OK.
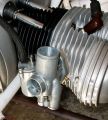
Right carb mounted
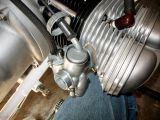
Slide installed
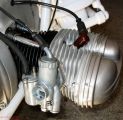
Right side done
Right side carb installed.
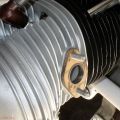
Left gasket needed work
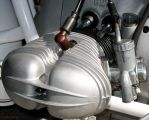
Left side done
The gasket for the left side was a bit tight, and needed some work with a file before it would fit. Once the gasket fit I put the left carb on the bike then fiddled with cables until both slides would seat all the way. Hint: when the throttle cable comes off of one slide the other slide will also have issues!
I stuffed some paper towels in carbs and exhaust ports for now. More later.