Tuesday, Apr 24 2018 [7,406 miles]
My afternoon was disrupted so I didn’t get as much done as hoped for. The disruption was welcome, though. We had some electrial issues in the house. The electician was here this afternoon and was able to diagnose and repair the problem.
Getting back to the bike I still had time to upgrade the front suspension. I didn’t take a lot of pictures of the various steps. I’d have needed a third hand to do so. This is what I have.
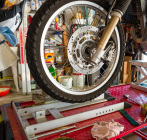
Disassemble chock
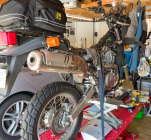
Bike strapped to the rear
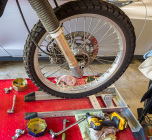
BRAP loosens axle
The front wheel has to come off the bike. To do that I first had to pull apart the Condor chock to make room. I also moved the tie-downs to the rear of the bike to keep the front end up in the air while working. An impact wrench made loosening the axle ease. This is the first time I’ve had the front wheel off. Suzuki or the dealer where I bought the bike had it good-n-tite.
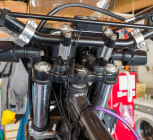
Loosen fork caps
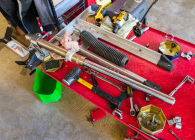
Left fork removed
Before removing the forks I loosened the fork caps. I decided to do the update one fork at a time. It’s probably slower that way, but I’m in no hurry. I started with the left fork. With the upper and lower clamps loose I could slide the fork out of the tripple tree. I took the boot off after removing the fork. I’m ready.
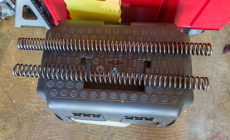
Old spring top, new bottom

Draining oil
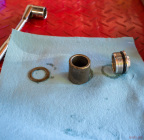
Washer, spacer, cap
The first picture shows the difference between the stock progressive spring and the 0.52 kg/mm straight rate spring I’m installing. I pumped the fork to get as much oil out then let the fork sit for about 15 minute to fully drain.
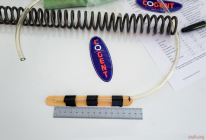
Don’t do this
While the oil was draining I took some tubing and marked off 130 mm. The tubing wasn’t straight, so I taped it to a stick. That might have worked, but I dropped the stick into the drained fork oil. The electical tape glue turned to a gooey tar. I’m sure it was something I did not want in my fork oil. I found another tube that fit my vacuum pump and was straight for at least 130 mm from the end. I used it, instead.
Then I made a trip to the hardware store. With the oil in the forks the DDC is guided into place using a magnet on a stick. The spring is placed on top of the DDC and the magnet is pulled out. Simple. Well, it’s simple if your magnet fits within the inner diameter of the springs. The one I had on hand didn’t. The telescoping magnet I picked up at the hardware store did.

Ready to reinstall
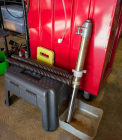
Right fork draining oil
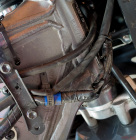
torn tape
I cleaned and re-installed the left fork then removed the right fork. While the right fork was draining I noticed some worn electrical tape on the right side of the steering head. I removed the worn section and replace it. It looks like it rubs agains part of the tripple tree when turning the handlebars. I’ll make it a point to check for wear whenever the tank is off.
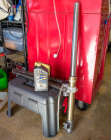
Right fork ready to install
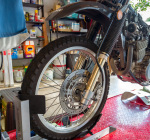
Bike standing on its own, again

More, tomorrow
I filled the fork with oil, placed the DDC, the spring, the washer, the spacer, and screwed in the cap. The install doc recommends 8 mm of pre-load. Using the stock spacer I measured 7.5mm. Close enough given that the range is actually 4-15mm and is one of the things you can adjust to tune the bike to your preferences. I’ll see how this feels. The last step was make sure the fork caps were properly torqued.
Tomorrow I’ll put the tank and saddle back on the bike and give it a test ride to see how the suspension feels and warm up the oil to prepare for an oil change. I have some other errands to run; the brake flush may have to wait a little bit longer.