25 Oct 2006
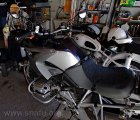
Stock Suspension
I’ve time this afternoon, so why not install one of the new shocks. I’ll start with the front for no particular reason. Well, the box with the front shock was on top of the box with the rear shock; that’s reason enough.
This is the bike before doing anything more than removing my tank bag. It’s dirty. I’ll wipe things down as I put the bike together after installing the shocks.
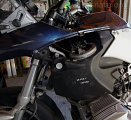
Remove left side panel
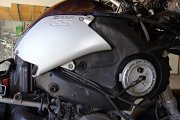
Remove right side panel
I removed the left and right side panels as well as the fuel, overflow, and electrical lines. I discovered that the metal side panels need not be removed to detach the tank. This leaves only the two screws holding the tank plastic to beak plastic and the two screws holding the tank to remove. I planned my recent gas stops right: the tank isn’t heavy/full.
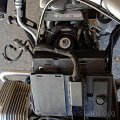
Top shock mounting nut

OEM front shock
The first pictures shows the top mounting nut for the shock. The second picture shows how close the shock is to the front cover. The front cover has to come off to remove the shock as the shock needs to be moved back and down until the damper shaft clears the frame.
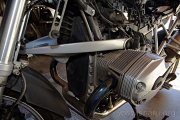
Remove H&B crash bars
To remove the front cover I first have to remove the H&B crash bars. They come off easily. Since the mounting screws and spacers differ from side to side I lightly screwed them back into their proper locations. That way they wont get lost and I wont mix them up. Once the bars are removed I remove the 5 screws holding the the front cover.
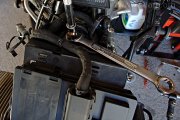
Remove top mounting nut
The front nut on the OEM shock is removed with a box wrench while holding the damper shaft with a hex key. There’s not much area to play, but it’s not too difficult to remove. The assembly spec calls for medium strength loctite so it will take a bit of effort to break it free. I wish the bottom mounting screw was as easy.
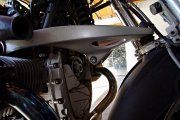
Loosen bottom mounting screw
As seen in the previous page, the bottom mounting screw uses a BMW “Micro-encapsulated” thread locker. This stuff needs heat, and a lot of it, to loosen. I applied heat using a Mapp gas torch, measuring the temperature with an infra-red thermometer. At 200F the screw still wouldn’t move. At 250F it would move, but as soon as the parts cooled down the screw would bind. At 300F I had enough time to completely loosen the screw.
Hint: the screw has a T-50 head. A T-45 is obviously loose, but a T-47 almost fits. It fits just enough to think you have the right socket, but loose enough bust a knuckle or three. My T-47 is now relegated to the same dark hole in my toolbox where I sent my T-27 a while back.

Jack up front end

Remove OEM shock
Before removing the screw I jacked up the front the the bike slightly, just taking some of the load off of the front tire. Careful: If jacked up too high you will put strain on the front brake line. The old shock was removed. I transferred the sleeve and rubber buffers from the old shock to the Ohlins and slid it into place, using the top nut to keep the shock from moving.
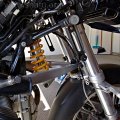
Ohlins front shock installed
I used the jack to get the bottom of the shock aligned and got the new mounting screw started. The RepROM calls for 40 N-m torque. The screw with the “Micro-encapsulated” thread locker will hit this torque long before it’s fully seated. I applied heat to loosen the thread locker so I could seat the screw at 40 N-m. Once the bottom was torqued I removed the top nut to apply some thread locker then tightened it as best as I could.
I don’t have a 15 mm crows foot so couldn’t use my torque wrench. The damper shaft has to be held with a wrench while tightening the nut. This makes the use of a normal socket with a torque wrench impossible.
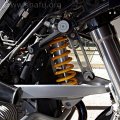
Front cover and crash bars installed
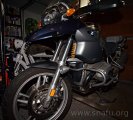
Ready to ride
I installed the front cover (after washing it) and the crash bars (washed and polished). The tank went on the bike next, followed by the side panels (also washed). This makes the top part of the front of the bike cleaner than the rest. Parts of the back will get cleaner when I mount the rear shock, hopefully tomorrow. Lastly, I put the seat back on the bike, took it off the center stand, and bounced up and down a few times. The shock works.
I’ll worry about adjustments, later.