26 Oct 2006
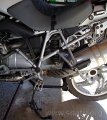
OEM shock
Replacing the rear shock is easier than the front. The only additional things to be removed are the saddle and muffler. The RepROM calls for removing the rear wheel but I did not find that to be necessary. Oh, the charcoal canister would also have to be removed, but I’d done that quite a while ago.
The next three pictures show the 4 places where a screw/bolt/nut needs to be removed. As can be seen in the middle picture the muffler has to come off to get access to the lower shock screw. I started by loosening the muffler clamp. While supporting the muffler I removed the upper mounting screw. The muffler wouldn’t budge. Out came the Aero-Kroil to spray around the lower joint.
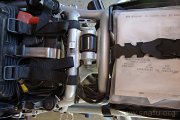
Rear shock top mounting bolt and nut
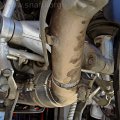
Muffler clamp and lower shock screw
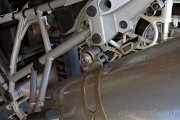
muffler mounting screw
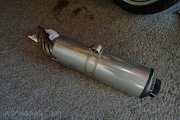
Muffler
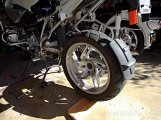
Support rear wheel
I gave the Aero-Kroil a few minutes to do its thing and then tried removing the muffler again. No problems this time, it slipped off with just a little bit of wiggling.
This is where the RepRom states the rear wheel should be removed. I couldn’t figure out why as it’s not in the way. On the off chance that BMW was worried about the load on the swing arm I supported the rear wheel with some scrap wood. It helped that one of the scraps was of some molding that had a wedge shape, easy to kick under the tire.
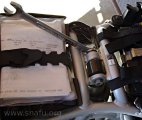
Loosen top mounting bolt
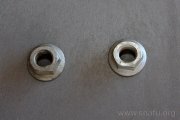
Old and new nuts
I removed the bottom shock retaining screw and the top shock nut and bolt. The bottom screw will be re-used with some loctite. The top nut will be replaced. The second picture shows the used (left) and new (right) nut.
The new nut does look slightly more oval than the original. Maybe BMW knows what they’re talking about when they tell you it needs to be replaced :-) I removed the OEM shock and set it aside for later cleaning and storage.
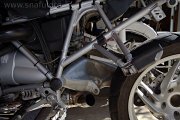
Clean, polished, and waxed
These pictures are before and after cleaning shots. I suspect this portion of the swing-arm will not be cleaned, polished, and waxed again until the next time I need to pull the rear shock.
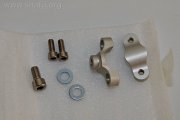
Preload adjuster mounting hardware
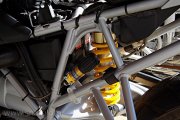
Preload adjuster on bike
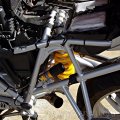
Ohlins installed
The Ohlins shock went on the bike about as easy as the OEM shock came off. I hung the shock from the top mount while figuring out exactly where I wanted the preload adjuster to sit. After the preload adjuster was mounted I installed the bottom screw with loctite and then torqued the top bolt and nut. Simple.

Shock gaiter
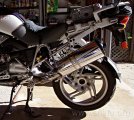
Ready to ride
I took one last look at the Ohlins spring then wrapped the shock gaiter around it to protect in and the damper shaft from junk thrown off by the rear wheel. A bit of anti-seize was applied to the muffler clamp per the instructions and slipped it over the muffler. The muffler slips over the pipe from the cat (where I also added a touch of anti-seize). I torqued the top mounting screw first, then the bottom clamp. Done.
Tools away, gear on, test ride time. I’ve not adjusted anything yet, leaving the settings as they came out of the box. The bike is taller. It’s noticeable when on the side stand. As for the ride: The new shocks are firmer than the stock shocks. The bike is smoother on smooth roads, smooth enough that I felt it’s time to adjust valves! The sharpness felt going over freeway joints with the stock shocks is gone. I still feel the joint, but it’s not the sharp jolt that I felt with the stock shocks. Because of the firmness I suspect I’m feeling more of the road, now. Saturday, when I’ll be around some friends to help, I’ll adjust preload and damping more to my likings.